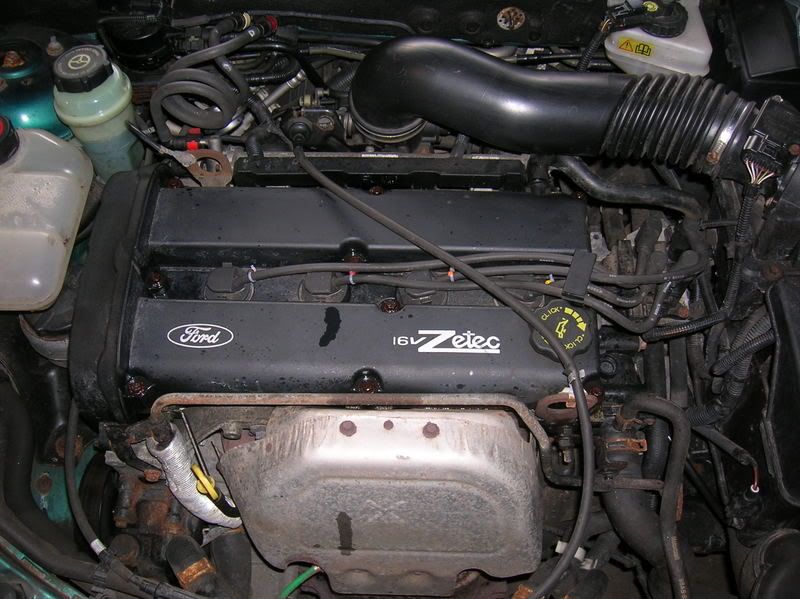
To start with, here's a pictorial showing how I replaced the rocker cover gasket on my 1.8 Ford Focus Zetec as oil was beginning to leak from the rocker cover.
To begin with I soaked the rocker cover bolts in WD40. They had corroded a bit, and the one thing I didn't want was to round off any heads because I had no replacements. I think it was fair to say I was slightly nervous at this point because I didn't really know what to expect!
Whilst I was waiting for the WD40 to work its magic, I set about unbolting the cam belt cover. This was difficult to access and required the repositioning of the power steering bottle. Once unbolted, the cover could be held out of the way, which would be important later on.... At this point I felt optimistic and eager to see how well the WD40 had worked.
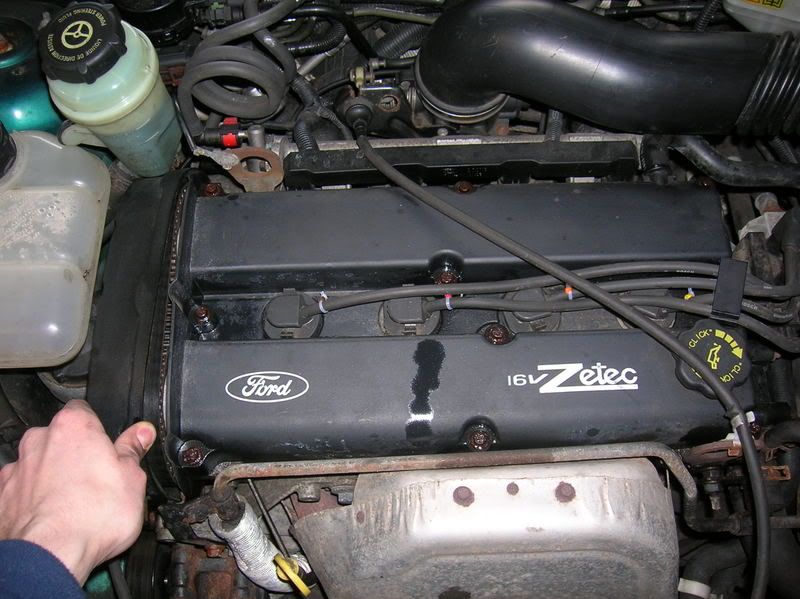
To my elation, all the bolts came free relatively easily. I just had to make sure the socket was seated on the bolt head properly before applying any pressure. With the throttle cable released and the ht leads removed, it was time to get the cover off this beast. I was slightly worried here because the cover seemed to have a fair bit of dirt on it and I certainly didn't want that getting in the insides...
To that end, I put the ht leads back in their holes, not pushed down but resting in place while I tried to remove the cover. Unfortunately 7 years of use meant that the cover was incredibly reluctant to come off. With the careful use of a nylon mallet and plenty of yanking, it came away eventually. I was really happy about this.
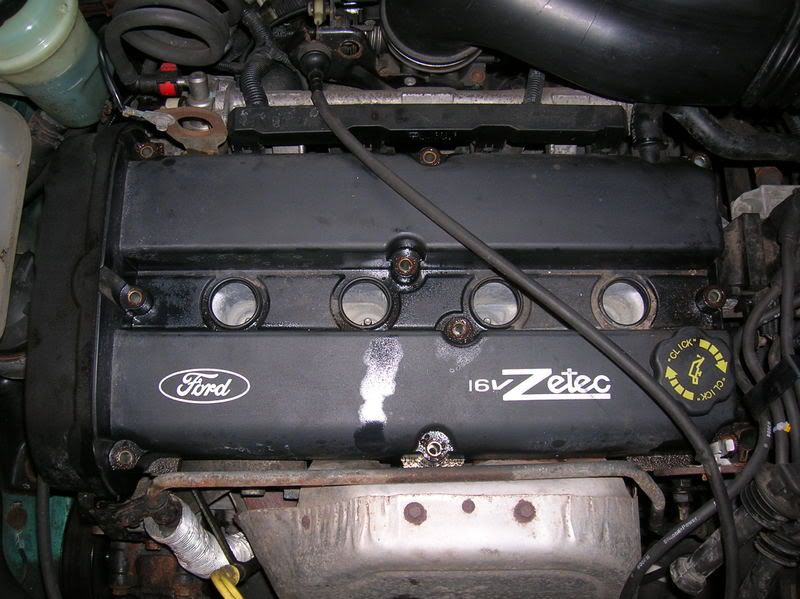
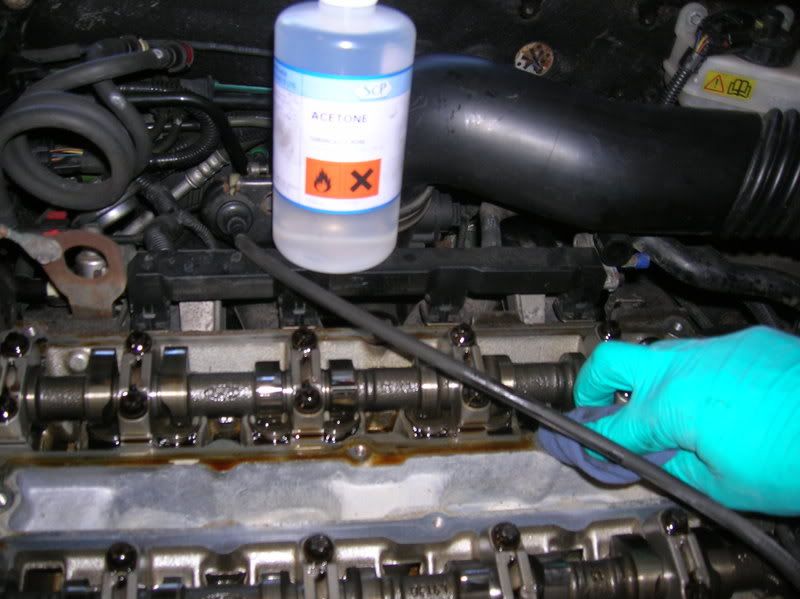
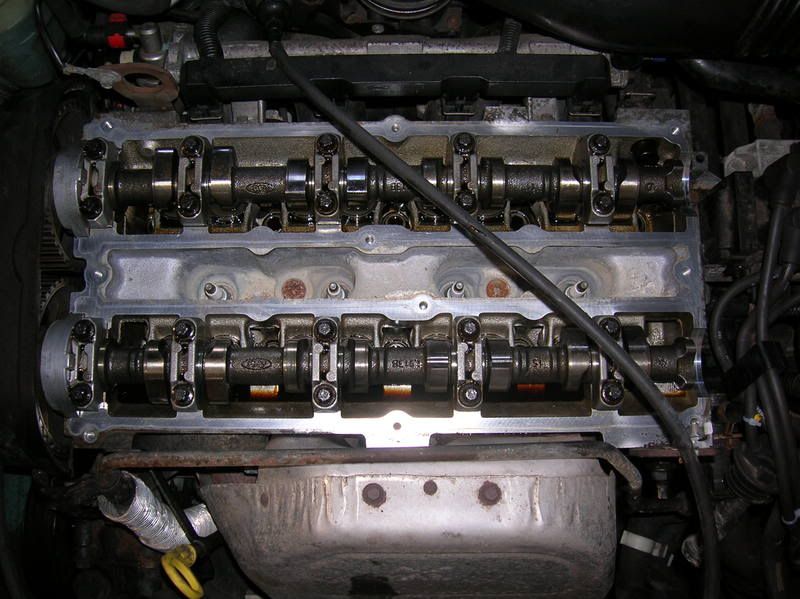
With the cover removed, you can see the camshafts are in pretty good shape. The seal had left a mark though, and this needed cleaning up before the cover could go back. I was looking forward to cleaning this beast up.

Using a couple of rags and some Acetone, I carefully cleaned the head in preparation for the new seal.
Once clean, I felt very proud of myself. I gave myself a metaphorical pat on the back.
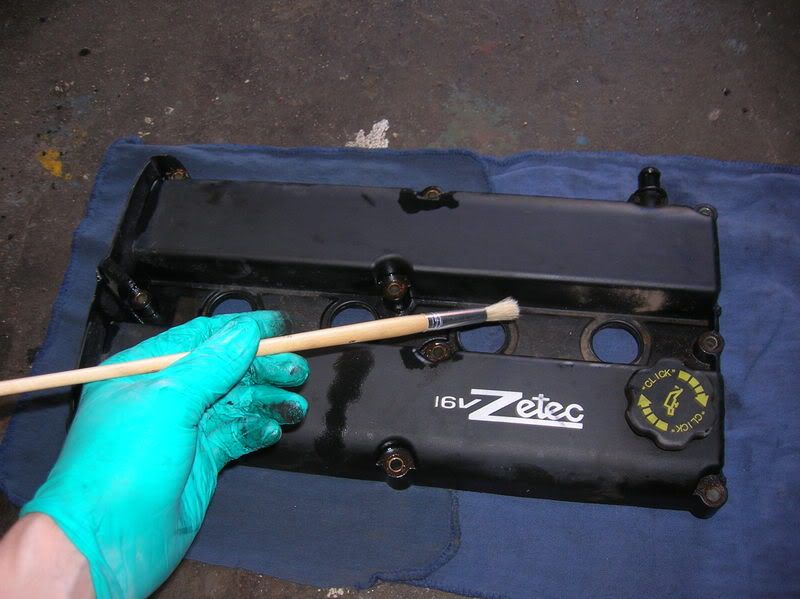
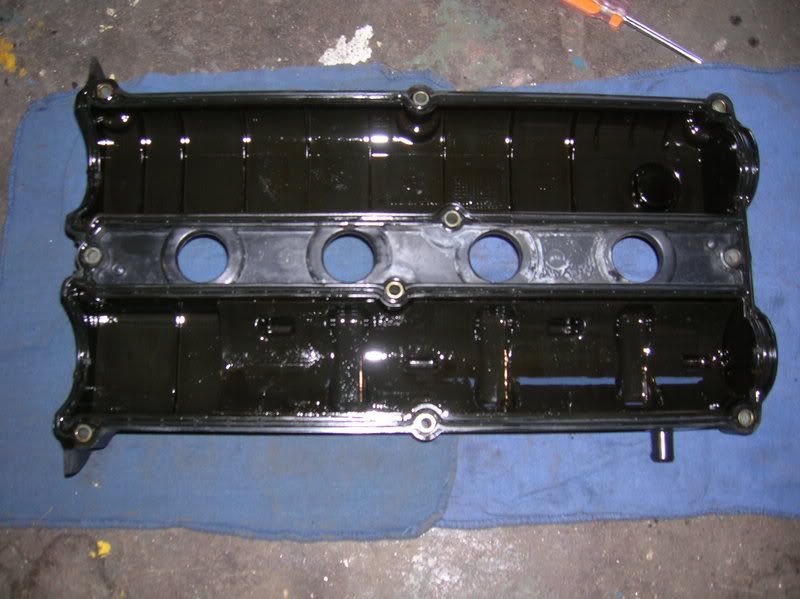
Turning my attention to the cover, I first cleaned the muck off it. This was quite satisfying and certainly a job best accomplished with the cover off. This was achieved using a brush and some acetone.
Flip it over and we are greeted with the old gasket. There are some tangs on the gasket at either end of the cover and pulling carefully allows the gasket to be withdrawn. I noticed the gasket felt quite brittle in areas and I felt lucky to get the gasket off in one piece.
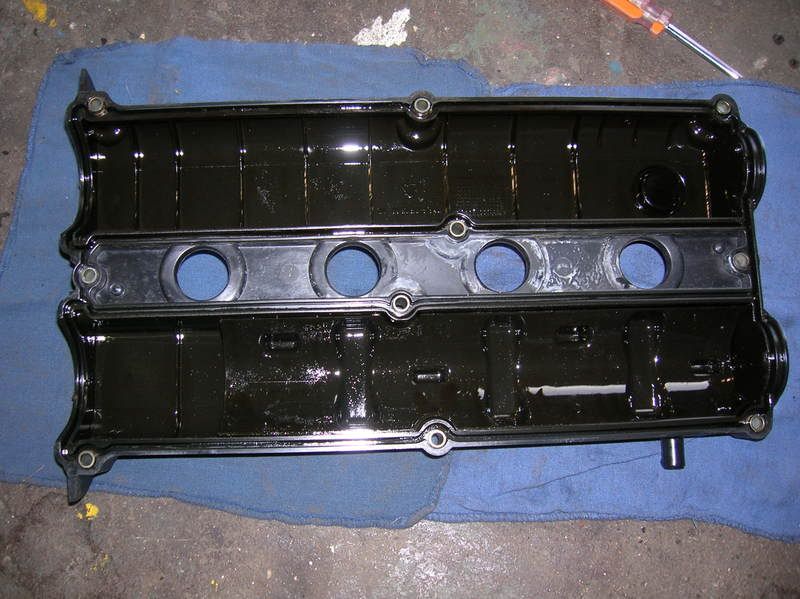
With the old gasket removed, I cleaned the mating faces on the cover before installing the new rubbery gasket. I was winning and I felt rather proud.
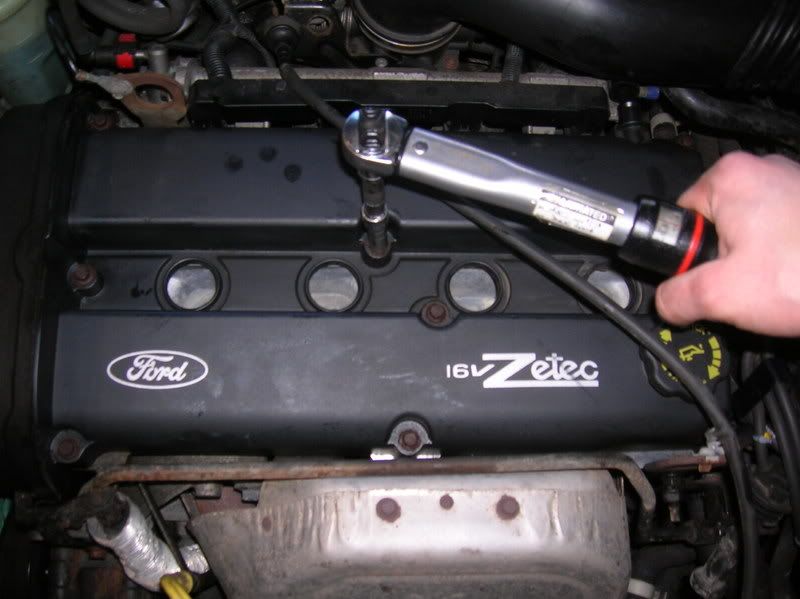
Fitting is the reverse of removal and with the bolts tightened to the correct torque, I feel like I knew what I was doing.
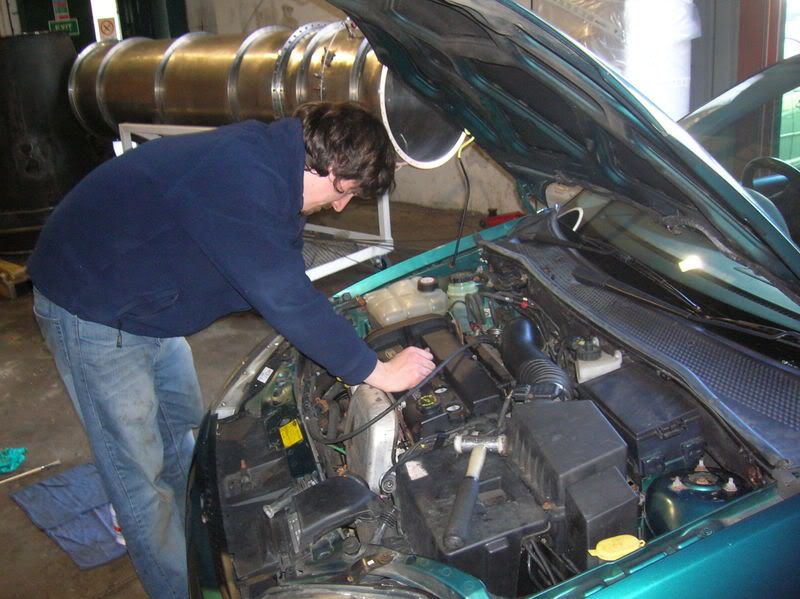
By this point I had attracted a crowd of fans. I was asked all manner of technical questions such as, "What is pints?" and "Newton Meters? Is that what keeps the engine cool?". I handled these with suave coolness. The only thing I was not aware of was that they started taking photos of me.
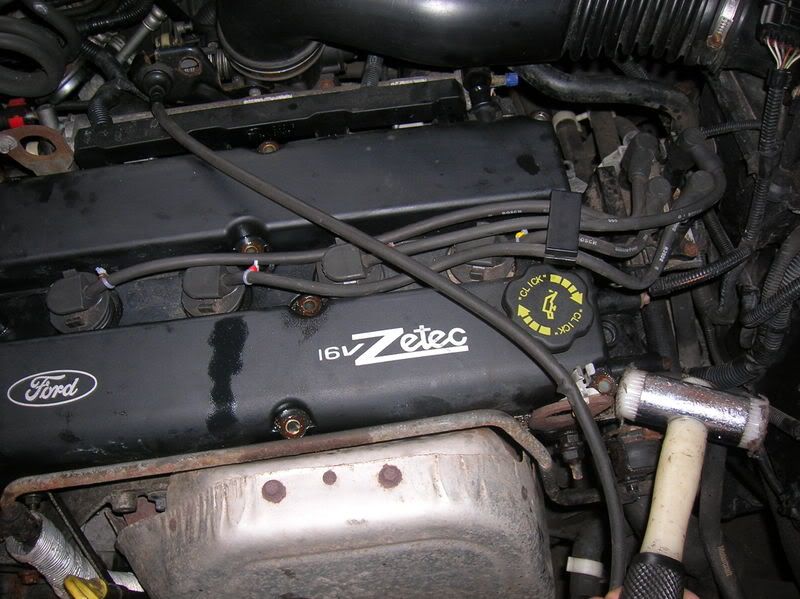
Tah Dah! Engine back in one piece, looks cleaner than before and whilst you can't see from the photo, it was burning off the WD40 as it warmed up - always feels a bit scary when you see smoke coming out of the engine bay but nothing to worry about.
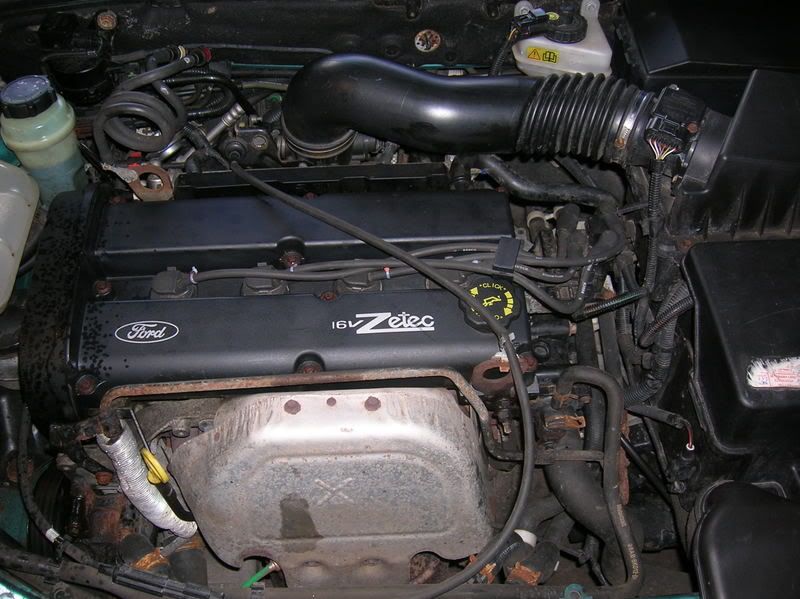
And there we go. Hopefully the oil leak is a thing of the past, and whilst not the most technically demanding job, I feel it has given me the confidence to tackle tomorrows challenge. Manifold removal time! So thanks for watching, and tune in again when we promise more drama, more frayed tempers and more violence.