First of all, clear some work space....
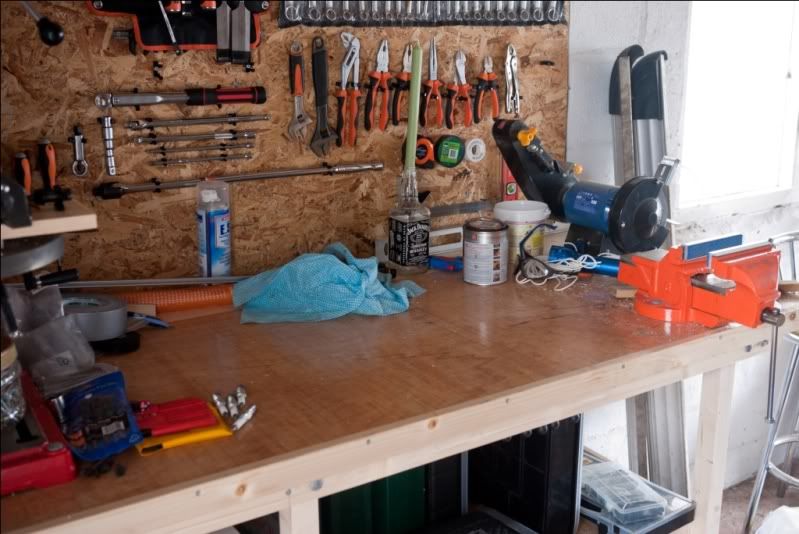
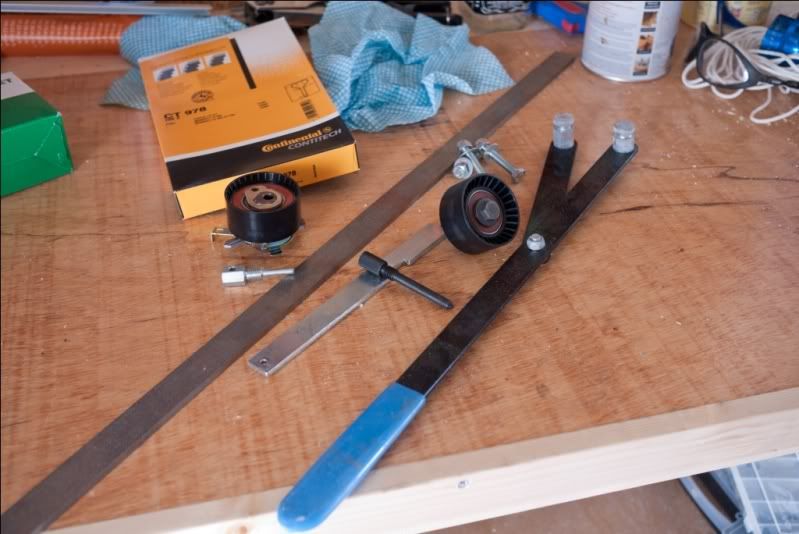
Get all the things you need together. New belt, idler and tensioner pulleys, and some other gubbins.
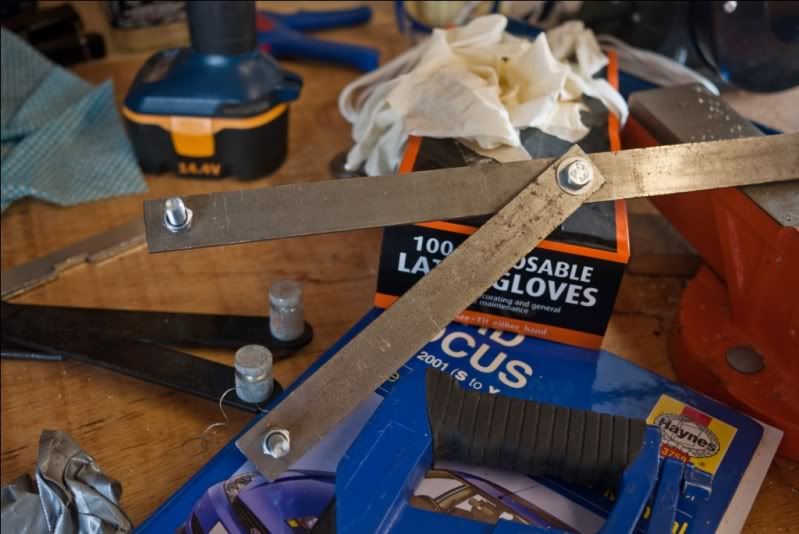
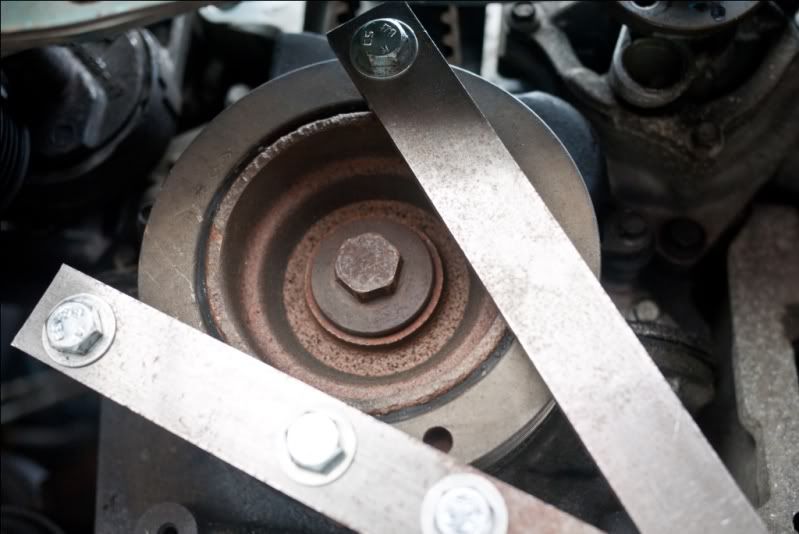
First job was to make a crankshaft removal tool. Get some steel bar, and cut a bit off the end. Grind the ends to remove sharp edges, tape together and drill.
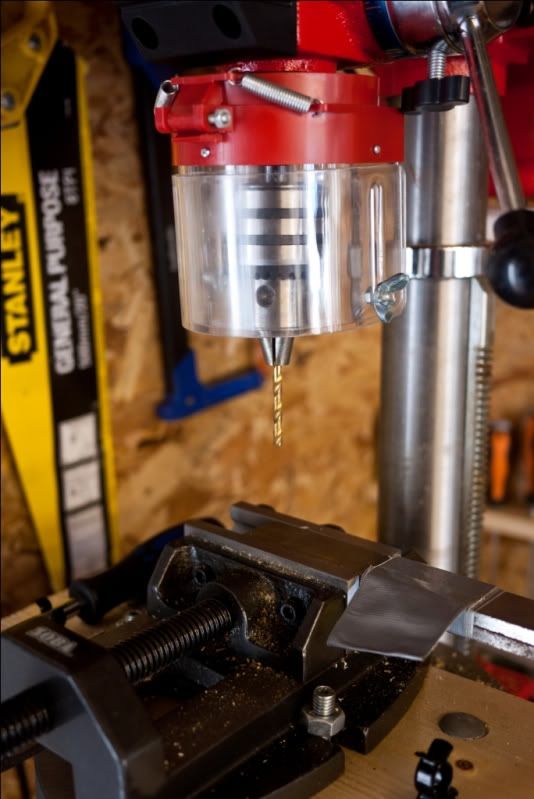
Voila, one crankshaft removal tool, or so I thought.... It required a bit of modification later on.
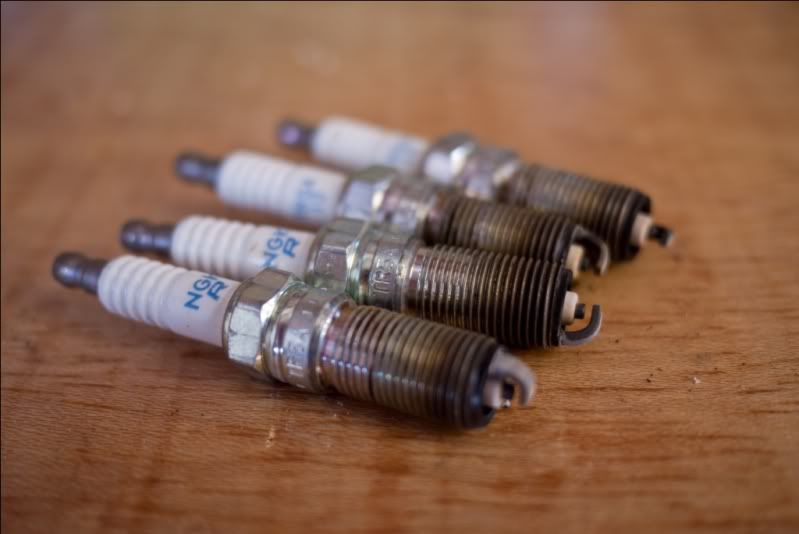
Right, now jack the car up and get it on axle stands. Remove the front wheels and remove the offside wheel arch lines. Remove the spark plugs and store away safely.
Remove the camshaft cover and store away safely.
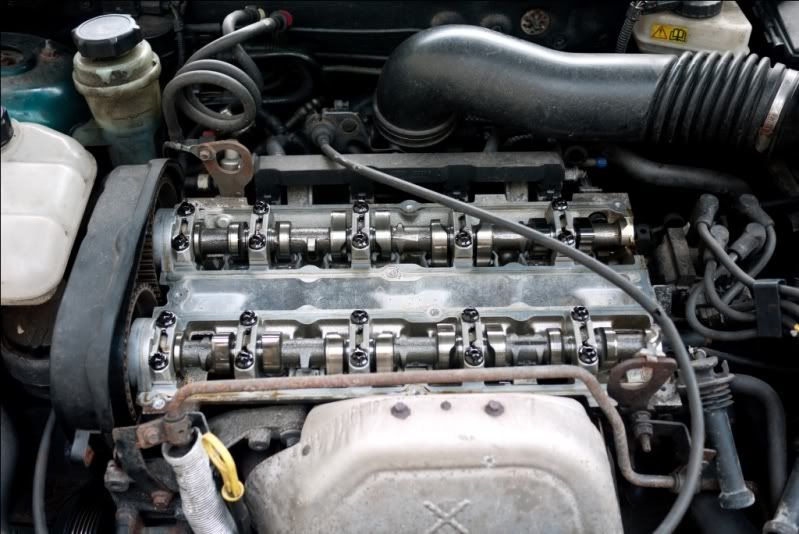
Now, look at the ends of the camshafts. They are slotted.
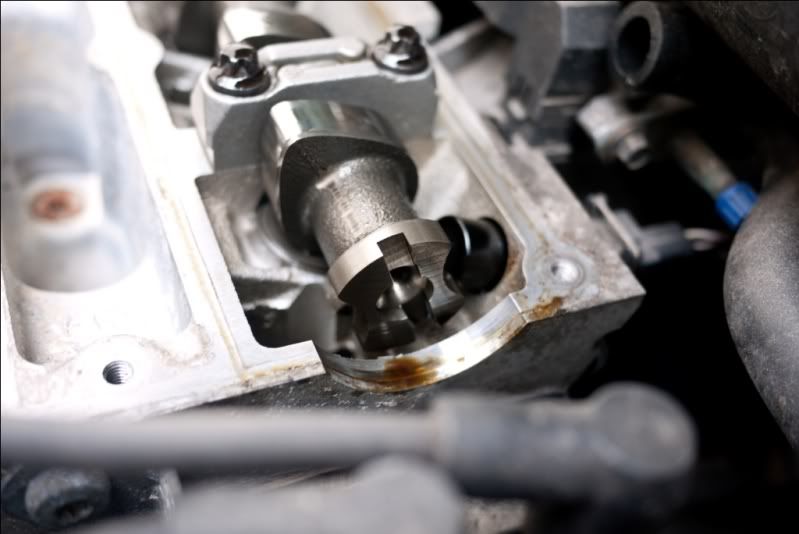
Using an 18mm socket on the crankshaft, slowly turn the crankshaft until the camshaft slots line up with the machined flat surface on the head.
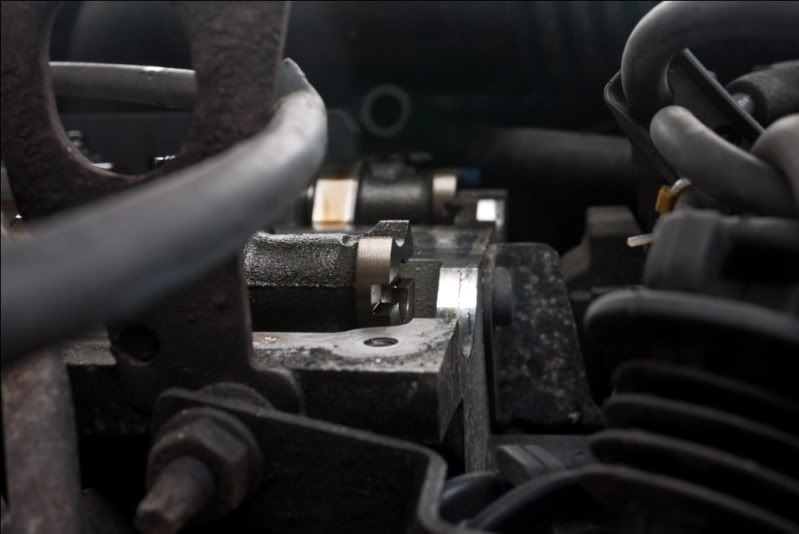
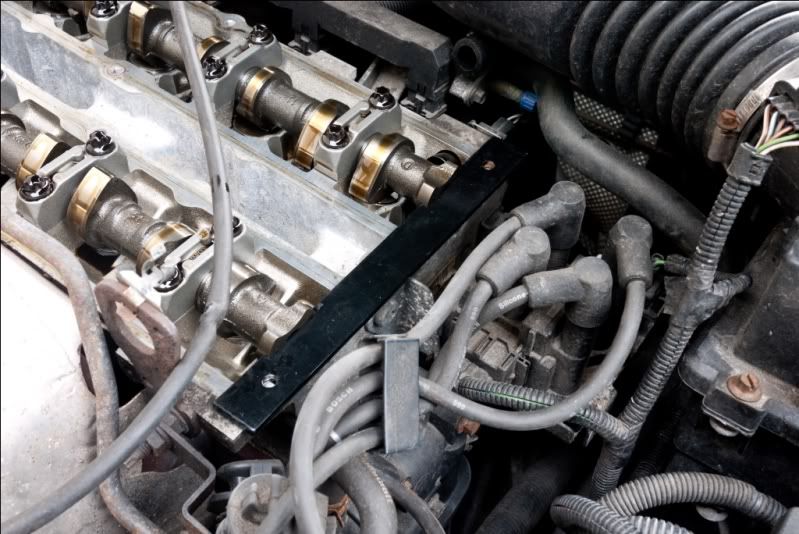
What we're looking to do is find Top Dead Centre (TDC) for the nearside cylinder. The camshaft locking tool should slip into the slots as shown below. This can be quite fiddly.
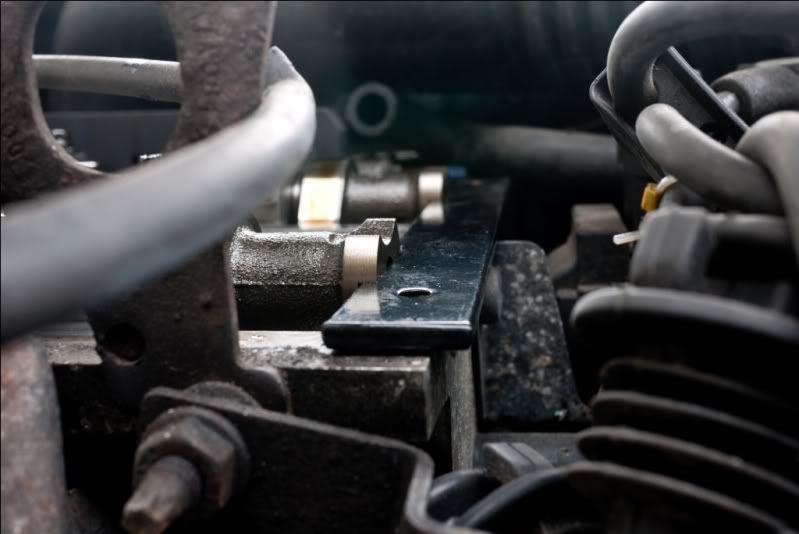
This is how the camshaft should look. It can also be 180° out of sync, with the nearside inlet valve having just closed rather than about to open as shown in the picture. Turn the crankshaft again until they are lined up as shown.
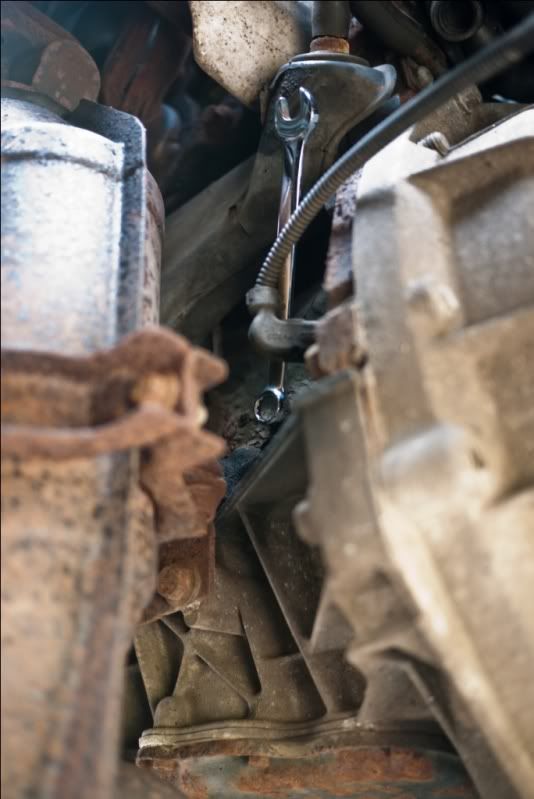
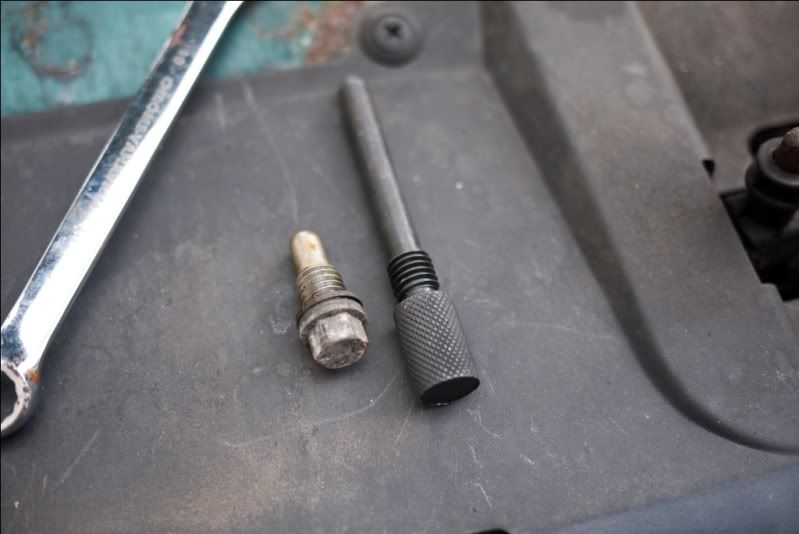
Next we install the crankshaft locking pin. This is awkward to get to, as it's behind the CAT. A 10mm spanner as shown will undo the blank, which should be removed and stored safely.
Blank and locking pin side by side.
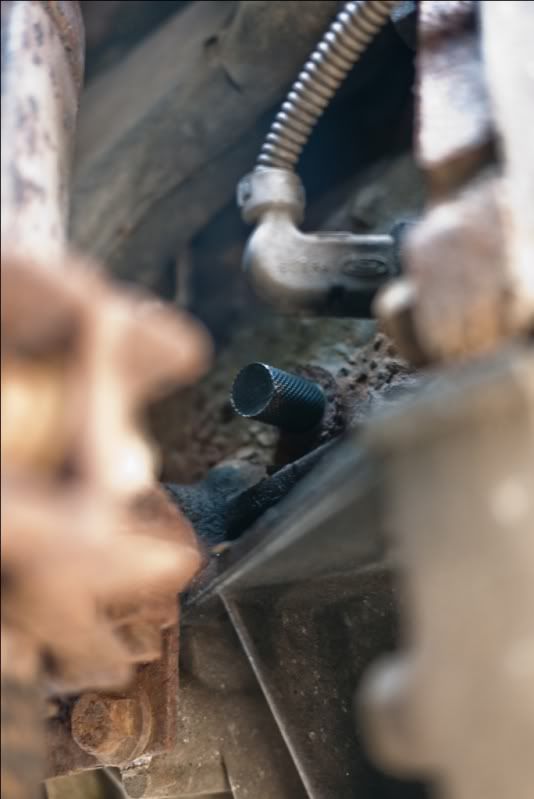
Locking pin installed. Now the crank can be rotated slowly clockwise until it comes into contact with the pin. This is TDC, and it is the crank pin which you must go off for verification.
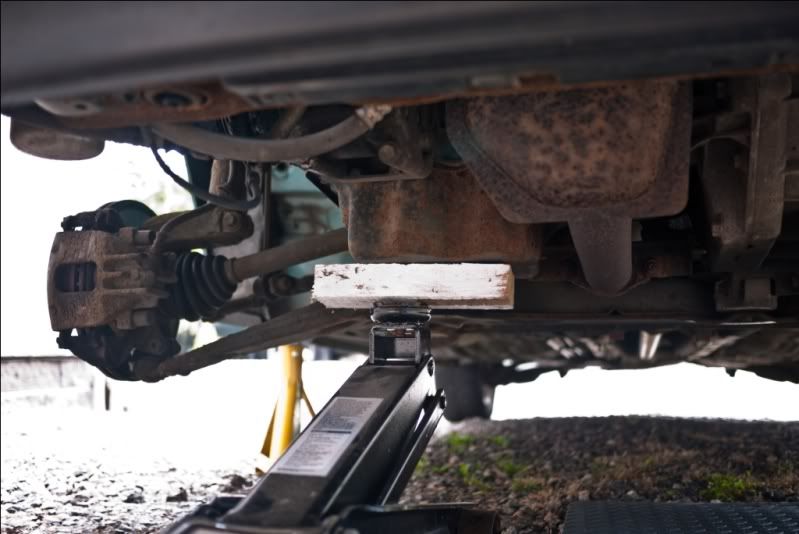
Next, remove the auxiliary drive belt cover, drive belt, etc. Jack up the sump with a block of wood between the jack and the sump.
Loosen the bolts holding the offside engine mount to the car. Take a picture of how this is located, as you'll want to put it back as close to where it came off as possible.
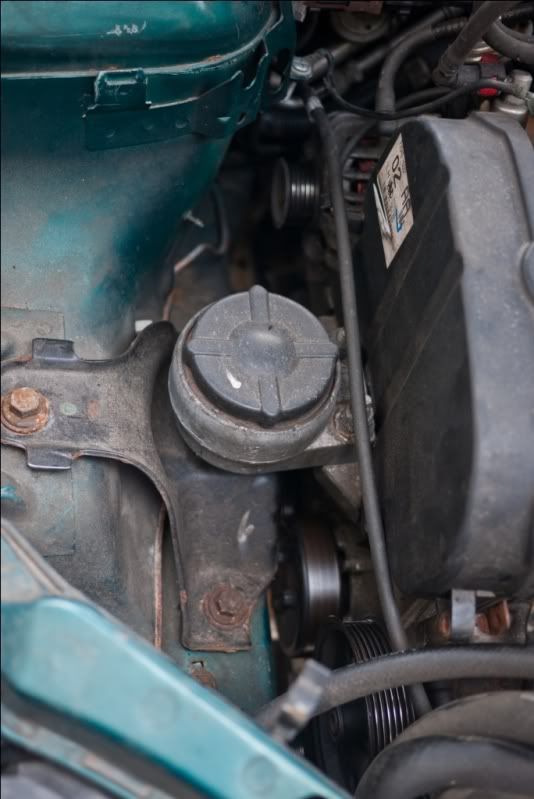
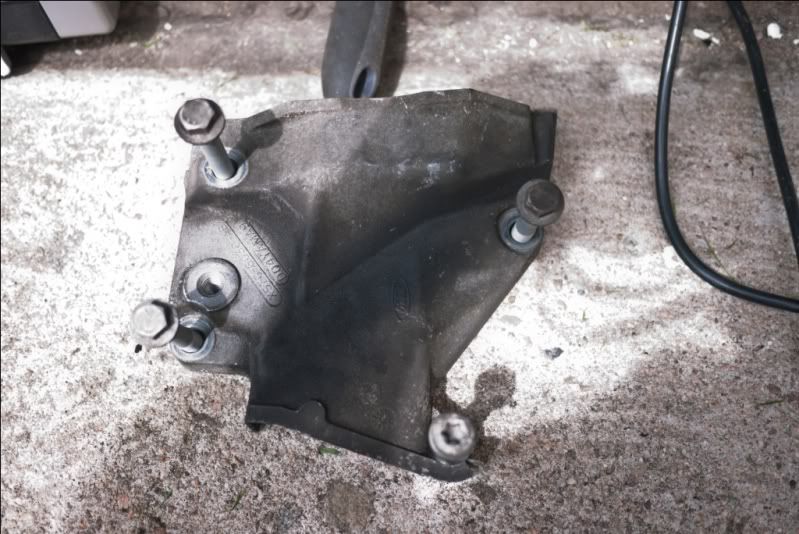
Undo all the bolts, including the ones on the engine side and remove the mount. Be cautious as the engine is now resting on the jack.
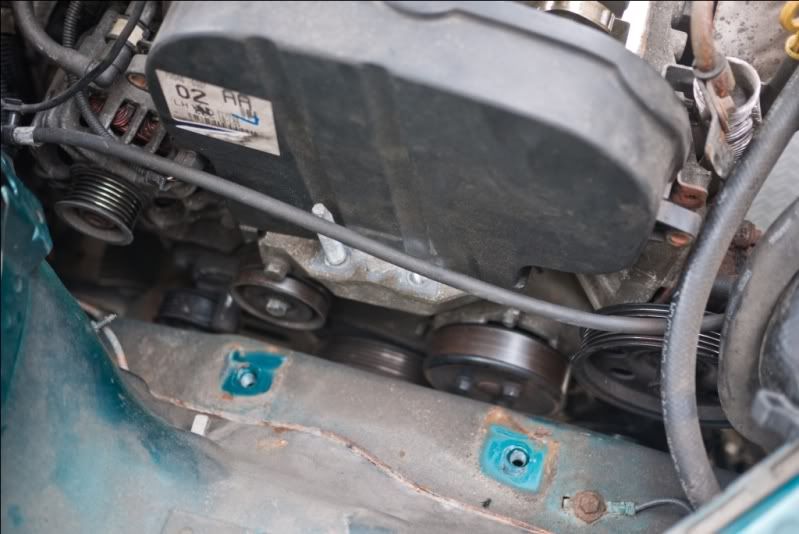
I cocked up here. I should've loosed the coolant pulley bolts with the auxiliary drive belt still on. Never mind, use a wedging device (steel bar!) to hold it still whilst you undo the bolts with a 10mm spanner.
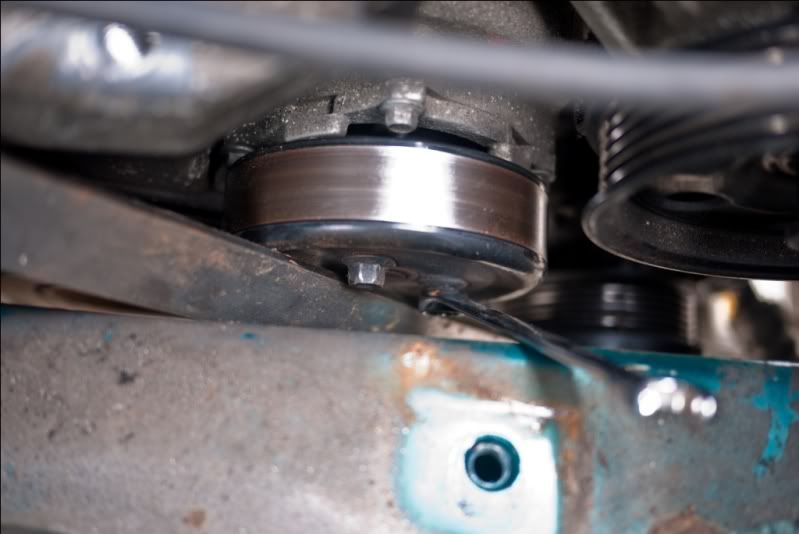
Once that and the aux belt idler pulley have been removed (you'll need to keep adjusting the height of the engine with the jack for access), remove the 4 bolts holding the middle timing belt cover in place, and remove it.
Now using the modified crankshaft tool, hold the crank still whilst you loosen and remove the pulley. If we didn't use the tool, it might shear the crank locking pin which isn't terribly desireable.
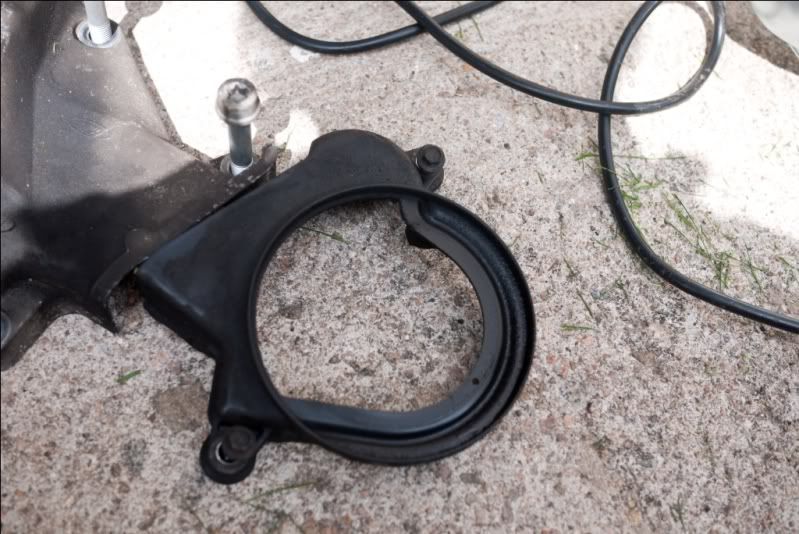
Once removed, you can remove the lower timing belt cover.
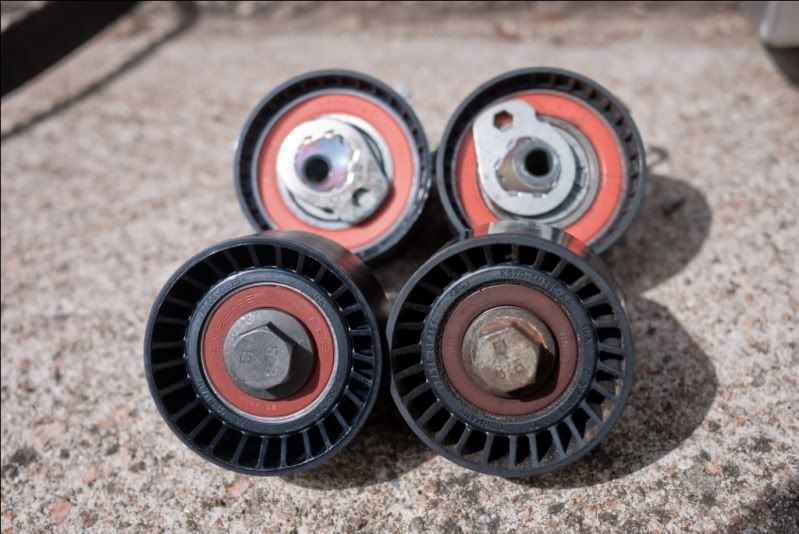
Now release the tension on the timing belt and remove the idler and tensioner pulleys. Here's old plus new - all appears to be the same shape which is a good thing!
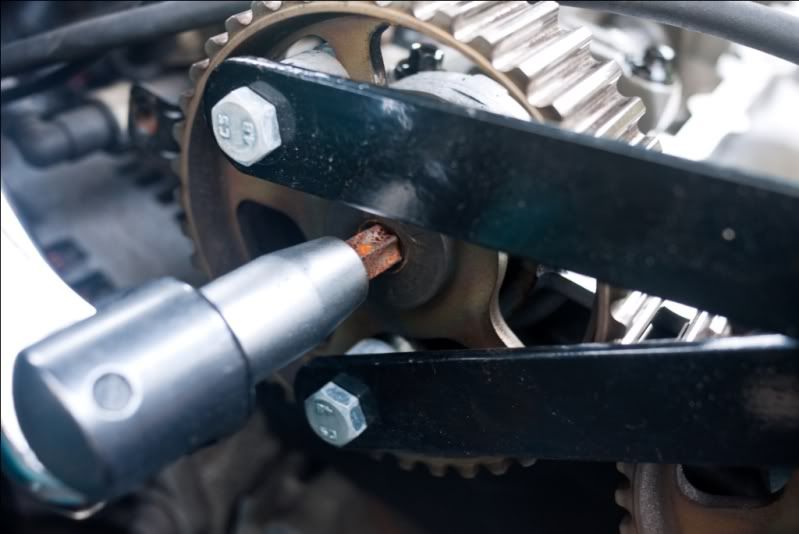
Next loosen the crankshaft sprockets using a proper tool!
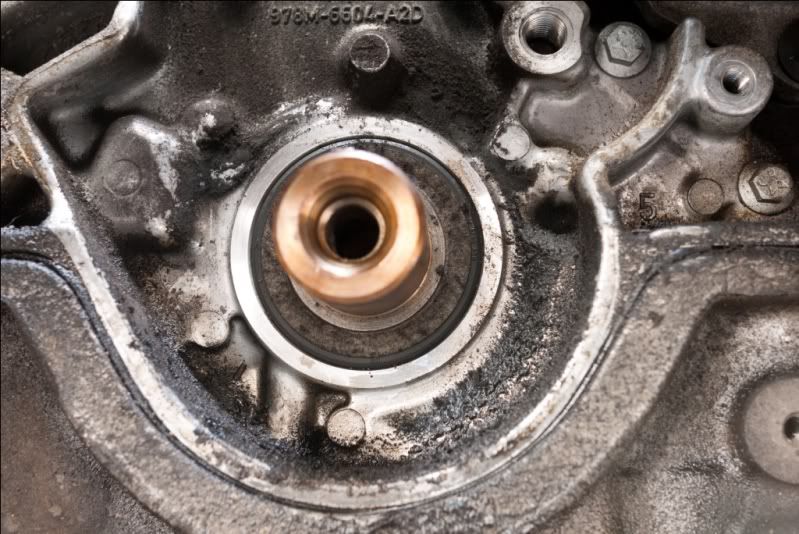
Give the manky bits a clean - this is an ideal opportunity to spot any troublesome leaks and do something about it,
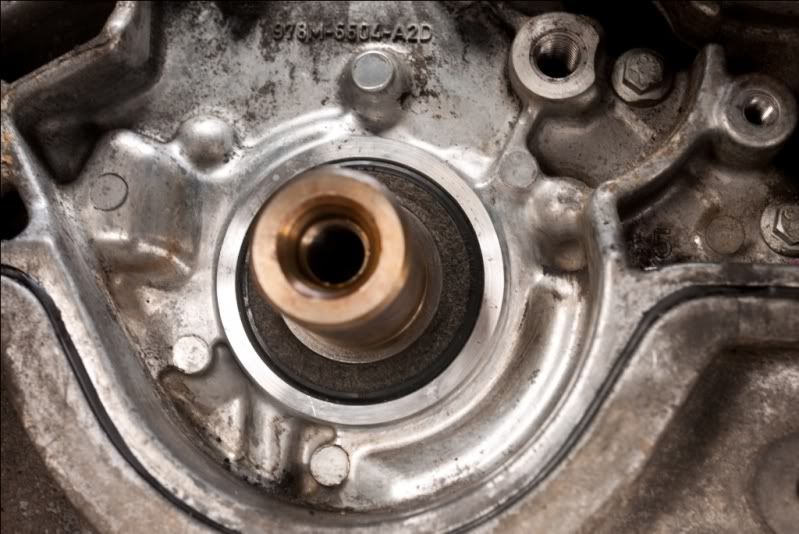
Putting it all back together shouldn't be too tough once you've come this far. When tensioning the belt, use an allen key to align the arrow with the locking tab.
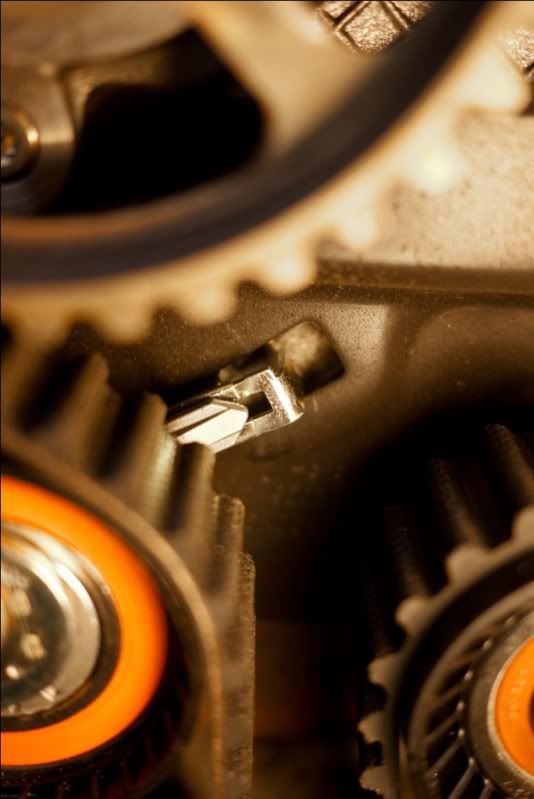
Right, now set the timing using the crankshaft locking pin and the camshaft locking bar. Once set, remove both locking devices and rotate the crank 2 turns using a wrench. This seats the belt afterwhich you must re-check the timing. If it's out, make adjustments and give it 2 turns again. Keep going and be patient, you will get there!
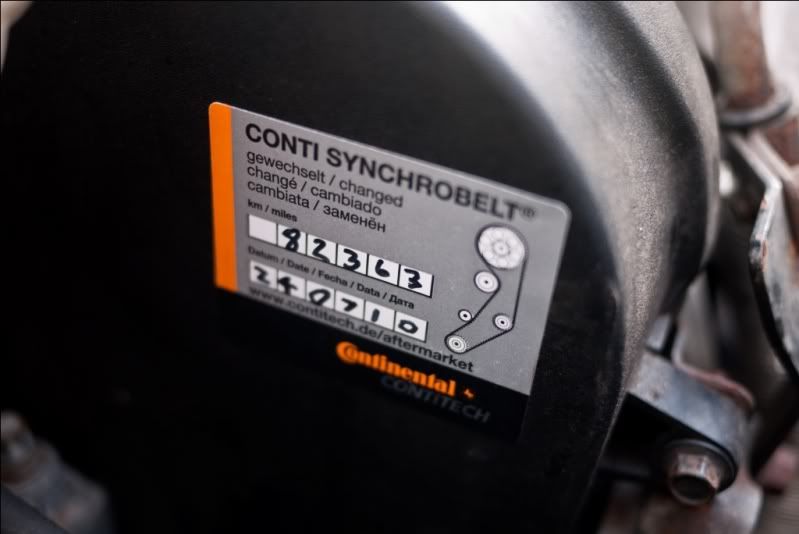
Once it's all together, stick a sticker on showing when it was replaced for future records, then take it for a test drive.
